Creating Your First Activity
This guide will walk you through the process of creating a basic PreMiD Activity.
Setting Up
First, make sure you've followed the Installation guide to set up your development environment.
Creating a New Activity
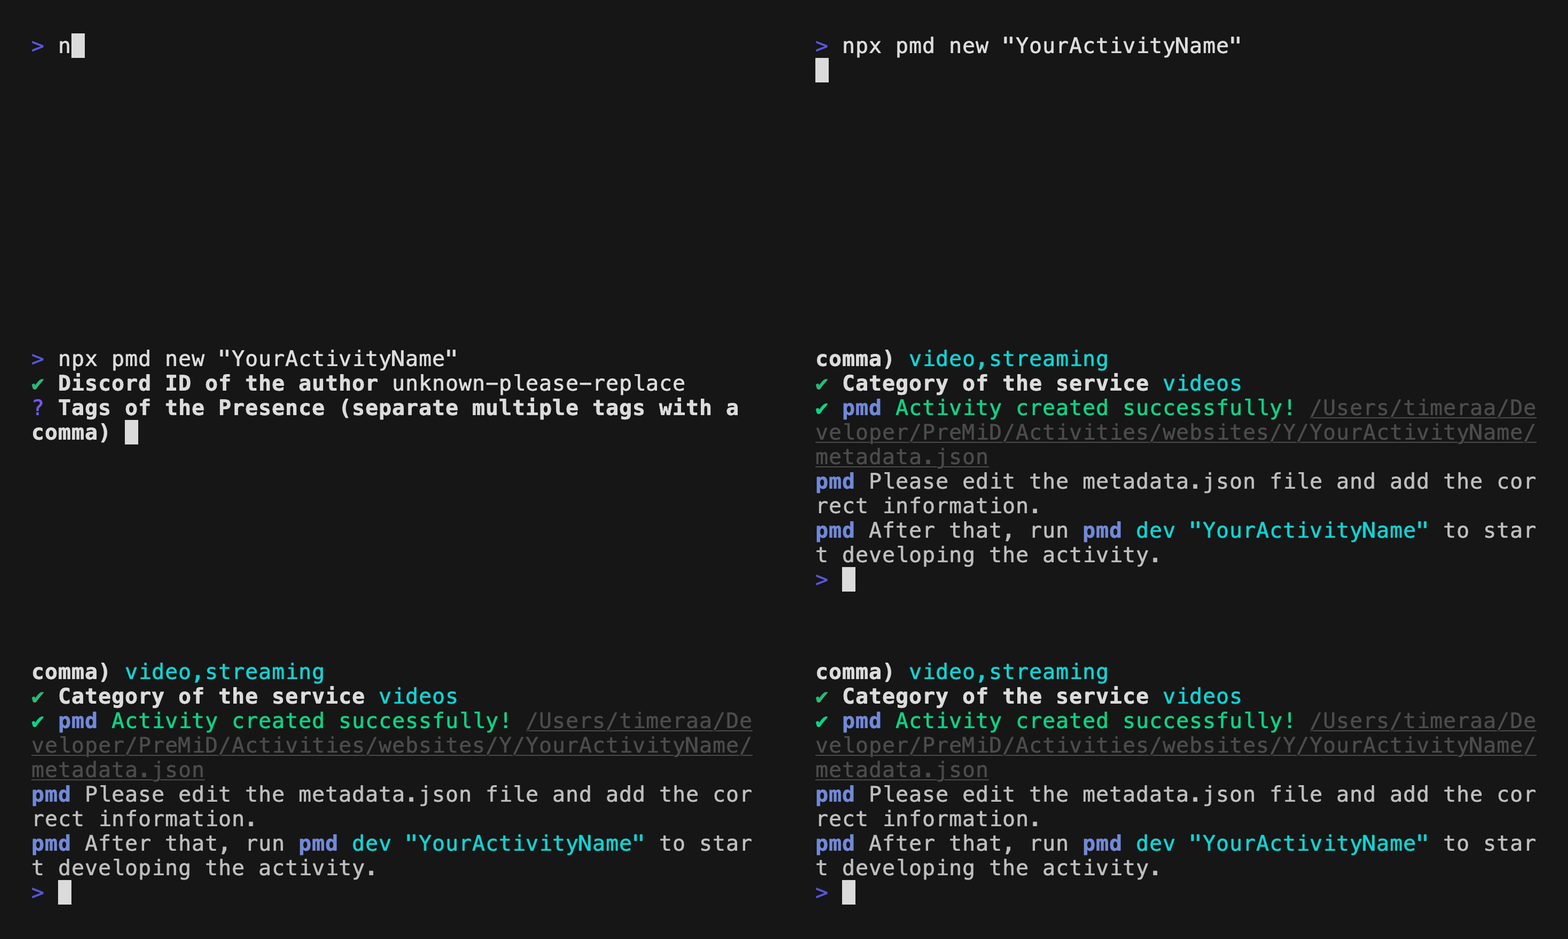
Using the PreMiD CLI
- Create a new activity using the CLI:
npx pmd new "YourActivityName"Note
Do not use npm run dev to create a new activity. That command is for developing an existing activity.
- The CLI will guide you through the process of creating a new activity:
- Enter your Discord ID (it will be validated and your username will be fetched)
- Enter tags for the activity (comma-separated)
- Select the category that best fits the website

- The CLI will create a new directory for your activity with the necessary files:
metadata.json: Contains information about the activitypresence.ts: The main activity codetsconfig.json: TypeScript configuration file
Image Assets (Required)
For largeImageKey and smallImageKey, we require using direct URLs to images (e.g., https://example.com/logo.png) rather than asset names. This ensures your images are always accessible and simplifies the development process.
Developing Your Activity
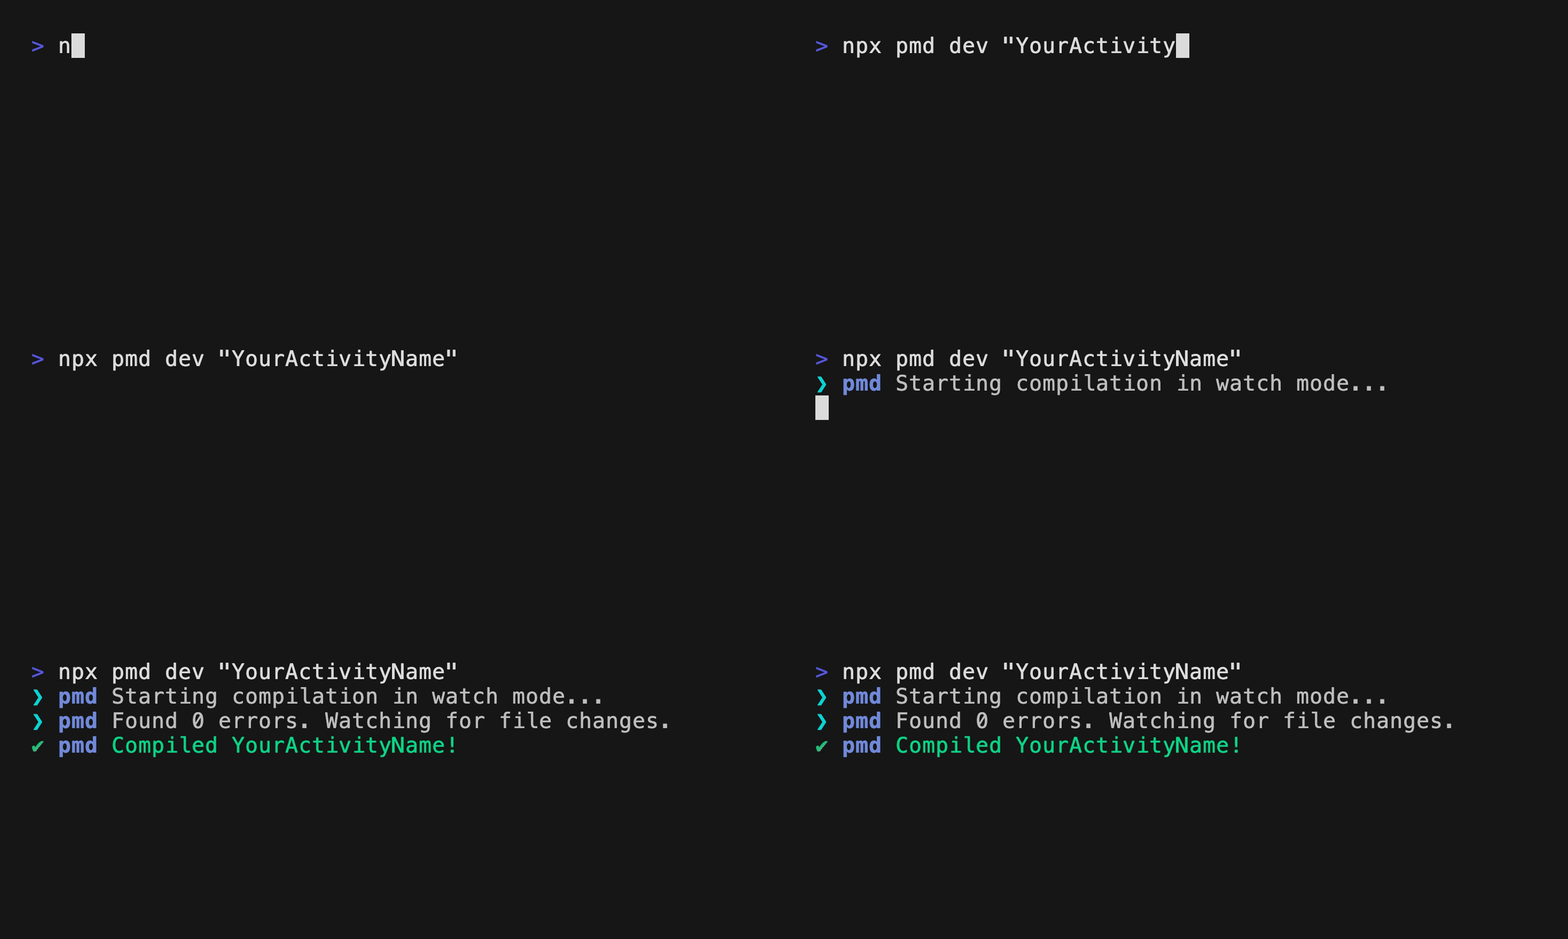
After creating your activity, you can start developing it with:
npx pmd dev "YourActivityName"This will start the development server and automatically reload your activity when you make changes to the code.

Understanding the Files
metadata.json
The metadata.json file contains information about your activity, such as the name, description, author, and version. Here's an example:
{
  "author": {
    "name": "Your Name",
    "id": "your_discord_id"
  },
  "service": "Example",
  "description": {
    "en": "Example is a website that does something cool."
  },
  "url": "example.com",
  "version": "1.0.0",
  "logo": "https://example.com/logo.png",
  "thumbnail": "https://example.com/thumbnail.png",
  "color": "#FF0000",
  "category": "other",
  "tags": ["example", "tag"]
}
presence.ts
The presence.ts file contains the main code for your activity. Here's a basic example:
const presence = new Presence({
  clientId: 'your_client_id'
})

enum ActivityAssets {
  Logo = 'https://example.com/logo.png',
}

presence.on('UpdateData', async () => {
  const presenceData: PresenceData = {
    largeImageKey: ActivityAssets.Logo,
    details: 'Browsing Example.com',
    state: 'Homepage'
  }

  presence.setActivity(presenceData)
})
Writing Your Activity Code
Now, let's modify the presence.ts file to create a simple activity:
Open the
presence.tsfile in your code editor.Replace the content with the following code:
const presence = new Presence({
  clientId: 'your_client_id' // You must enter this yourself
})
const browsingTimestamp = Math.floor(Date.now() / 1000) // Show elapsed time

enum ActivityAssets {
  Logo = 'https://example.com/logo.png',
}

presence.on('UpdateData', async () => {
  // Get the current URL
  const { pathname } = document.location

  // Create the base presence data
  const presenceData: PresenceData = {
    largeImageKey: ActivityAssets.Logo, // Direct URL to the logo image
    details: 'Browsing Example.com',
    startTimestamp: browsingTimestamp // Show elapsed time
  }

  // Update the state based on the current page
  if (pathname === '/') {
    presenceData.state = 'Homepage'
  }
  else if (pathname.includes('/about')) {
    presenceData.state = 'Reading about us'
  }
  else if (pathname.includes('/contact')) {
    presenceData.state = 'Contacting us'
  }

  // Set the activity
  if (presenceData.state) {
    presence.setActivity(presenceData)
  }
  else {
    presence.clearActivity()
  }
})
This code creates a basic activity that shows what page the user is on, with different messages for different pages.
Testing Your Activity
To test your activity, follow these steps:
- Start the development server with
npx pmd dev "YourActivityName" - Make sure the PreMiD extension is installed in your browser
- Enable "Activity Developer Mode" in the extension settings
- The CLI will automatically connect and send the activity to the extension
- Visit the website your activity is designed for
- Check your Discord status to see if it's showing the activity
When you make changes to your activity code, the development server will automatically reload the activity, and the changes will be reflected in your Discord status.
Next Steps
Congratulations! You've created your first PreMiD Activity. Before submitting your activity, make sure it follows our Guidelines to ensure it meets our quality standards and requirements.
To learn more about the different features and capabilities of activities, check out the following guides:
- Activity Structure: Learn about the structure of an activity and how to organize your code.
- Metadata: Learn about the metadata.json file and how to configure your activity.
- Presence Class: Learn about the Presence class and its methods.
- Settings: Learn how to add customizable settings to your activity.
- Loading Activities: Learn more about loading activities into the PreMiD extension.
- Developer Tools: Learn how to use the built-in developer tools to debug your activities.
